Thursday, August 21, 2008
MDC Thursday Smack Down...

Tuesday, August 19, 2008
Sweet Treats

This is I made for the SCS Technique Monday. Since it was making a "treat" box I had to use the Unity Kit "Bitty Christmas Tags" I colored this awesome little gingerbread house with copics/prismacolor markers and added stickles. Punched it out added the SU scalloped punch in the back. The ribbon is from Michaels and the glitter dots are from Gina K. Inside I put little starlight mints, sorry the way I took the picture they don't show. But how awesome is this little box for any type of yummy treat or gift.
That's it for now.
Till Later...
Sunday, August 17, 2008
Hey Chick and Blog-Aversary Winner!

Saturday, August 16, 2008
Sketch Time Saturday
It's Saturday and that means sketch time with Lauren! Check it out here is today's sketch. If you decide to play and post to SCS you can use keyword mytimess1 so everyone can find all the awesome creations. I really didn't know which direction to go with this one so I decided on a Halloween card. Here it is:

I struggled with this one a little bit. In the end not too bad I thought . I did incorporate the components of the sketch but then felt like I HAD to add something to the bottom hopefully that is ok!
This flying witch is Riley by Hanna Stamps! The Sophie and Rileys are super awesome! I colored this guy in with copics and added some stickles, then cut him out. I used my circle scalloped nesties for my layers. The patterned papers are from a glitter stack pack by Debbie Mumm. The images in my squares are by Studio G.
What I did realize though is that I am lacking on holiday papers so I really need to find some. What brands do you like for holiday papers? This Debbie Mumm pack I picked up the other day is a "fall" pack with a few sheets of Christmas.
Well that's it for now. Don't forget there is still some time to enter for my Blog-aversary giveaway which ends on Sunday.
That's it for now!
Thanks for stopping by!
Till Later....
Wednesday, August 13, 2008
Mothers & Daughters Challenge

Walking in a Winter Wonderland....

Don't forget there is still time to enter to win some blog-aversary candy HERE. And if you want to win some Stickles go HERE. WOO HOO!!!! Lots of fun going on!
That's it for now. Be sure to swing by tomorrow for the weekly Mothers & Daughters Creations challenge it should be a good one!!
Till later.....
Tuesday, August 12, 2008
Glittered Window
Isn't this chick sweet? I was psyched when Tamara of Mothers & Daughters Creations asked me to work on a "technique" project. Of course what else would I really want to use other than Stickles! Am I'm over doing it? NAH! They are awesome! If you haven't tried them yet you have to! You can view all of the wonderful colors here. I think I have all of them. Now the only thing I need is some good advice for storage. I keep them in a drawer which is fine but they fall like dominoes ALL the time and it drives me batty! Any ideas??? I decided to give the glitter on acetate/transparencies a try. You have seen this before I'm sure, it's been on SCS and blogs. Many people have used the clear drying glue with fine glitter and that works fine as well. But with Stickles it's one step and the dry time. So here is my little version of this fun technique.....
I stamped the chick with Stazon on a transparency sheet (is that the correct word or is it acetate same thing right?). Let the ink dry and then apply in little squirts the stickles. For this I used yellow on the body, Orange Peel on the beak/wing and Pink for the flower with a dab of Cotton Candy in the middle of the flower. Now set this aside and let it dry. It does take some time I will admit. I usually stamp at night so I plan accordingly and let it dry over night, or if I stamp while the kids nap it dries by the time they go to bed at night so I can continue. I am not one with such patience for things like that because I usually want to get things done, but I love the glitter so much it's worth the wait. Here is a close up of the chick all glittered up:

Doesn't that look cool?? It's like crystals in a window.
While the chick was drying I worked on getting the rest of the card ready. I decided to make a small "box" that would sit on a card and pop out.
I pulled out my square scalloped nesties and used the the square that best fit around the image. I used it to cut out a square on a piece of SU Regal Rose paper.
(honestly I didn't measure this piece but as long as you have an inch all around the cut our image you should be fine)Then score on all four sides 1/2 inch out and another 1/2 inch out. You should then be able to fold the sides under forming a little box with no bottom. Take your "crystal" image and adhere it underneath this cool little window. You can use adhesive or even tape because you won't see it underneath. I used a square piece of cool Daisy Bucket paper to adhere underneath this for the base and it shows through in the window.

Here is the "box" all finished:

The final thing you want to do is adhere this cute box to your card. My card uses SU Regal Rose and Daisy Bucket paper. The flowers on the frame in the finished product is from the Michael's Bridal section. The cute sentiment "Scatter Joy" is by by Daisy Bucket as well.
Please let me know if you would like further clarification on any of this. I just realized this is my first tutorial on my blog! Let me know what you think.
Now hop on over to MDC and pick up all the Stickles you can carry!!! And don't forget to check out all the fun at the MDC Challenge Blog with a Stickle giveaway!
Thanks so much for stopping by!!
Till Later...
Unity Stamp Co Tuesday Inspiration!
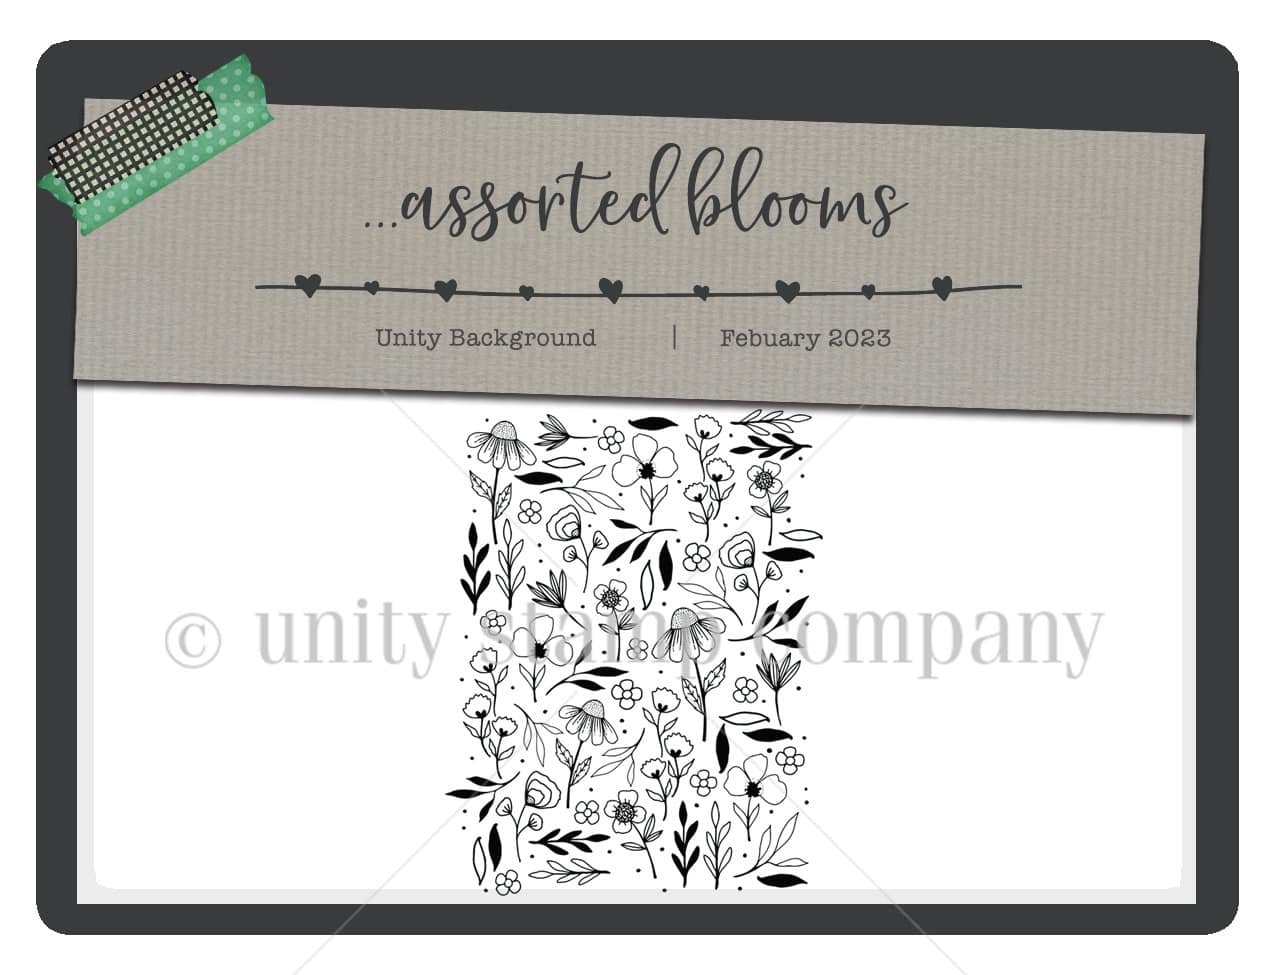
I'm up on the UNITY BLOG today sharing some cards I made using 2 stamp sets! I used the February background of the month called as...
-
I'm thrilled to be a part of this amazing blog hop. We definitely need JOY right now and what better way to make people smile. The...
-
HAPPY NEW YEAR!!! Welcome to the Seasons Givings Blog Hop! I'm THRILLED to be a part of this hop with sooo many wonderful cr...
-
Welcome to the Unity Stamp Co and Misti Blog Hop!! I'm so excited to be a part of this awesome hop today! I made a few cards a...